






Common Home Appliance Problems and Easy DIY Solutions

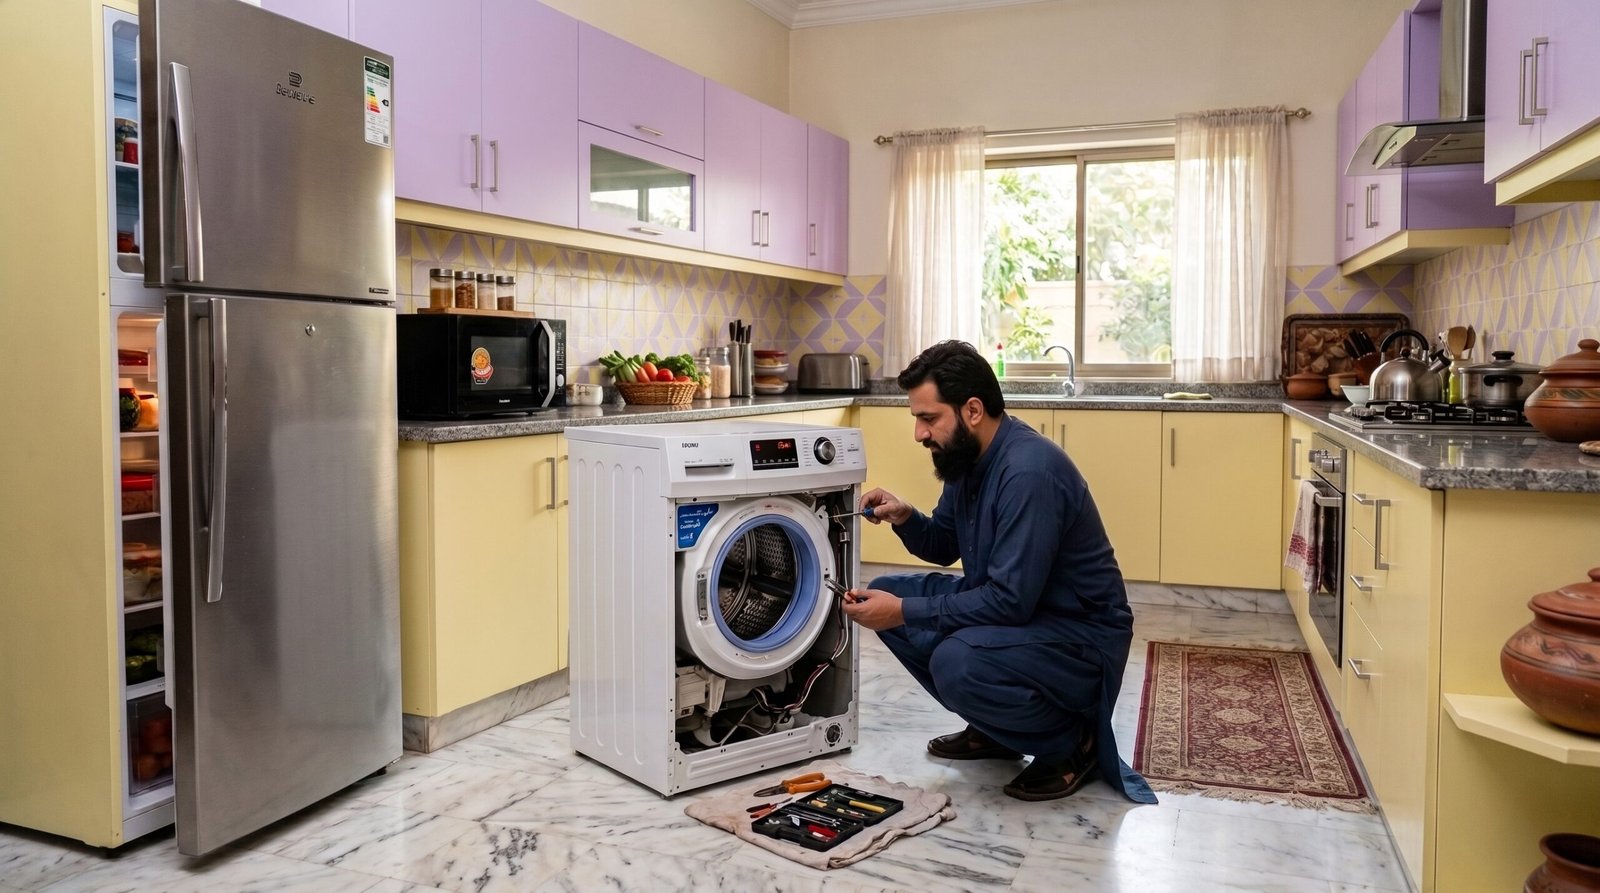
Every modern home relies heavily on major appliances to maintain daily comfort, hygiene, and nutrition. From keeping our food fresh to preserving clean clothes and ensuring optimal climate control, home appliances are the silent workhorses of our living spaces. However, when a key appliance breaks down, daily household routines can grind to a sudden halt. Professional service calls can be expensive and time-consuming, often taking days for a technician to diagnose a problem that could have been resolved in fifteen minutes with basic tools.
1: Refrigerator & Freezer Troubleshooting
Your refrigerator operates 24/7, making it susceptible to mechanical wear, dust accumulation, and sensor faults. Understanding how thermal regulation and coolant loops work can resolve up to 80% of common cooling issues.
1.1 Refrigerator is Running But Not Cooling Enough
Primary Symptoms: Milk spoils quickly, ice cream feels soft, food in the fresh food compartment is warm, but the compressor runs continuously.
Root Causes:
- Dirty Condenser Coils: Dust, pet hair, and lint coat the coils underneath or behind the unit, preventing the heat transfer required to cool the internal cabinet.
- Blocked Evaporator Air Vents: Stacking tall boxes or bulky items directly in front of internal air vents prevents cold air circulation from the freezer section.
- Worn or Damaged Door Gasket: A cracked or unseated rubber door seal allows warm, humid ambient air to constantly enter the cabinet.
Step-by-Step DIY Solution:
- Clean the Condenser Coils: Unplug the refrigerator. Locate the coils at the bottom rear or underneath the front kickplate. Use a coil brush and a vacuum hose attachment to clear all accumulated debris. Perform this every 6 months.
- Inspect and Clean Door Gaskets: Perform the “Dollar Bill Test.” Insert a bill between the door seal and cabinet, then close the door. If the bill pulls out easily without resistance, your gasket needs replacement. Clean sticky seals with warm soapy water.
- Unblock Air Vents: Reorganize food items inside both freezer and fresh food compartments to ensure a minimum 2-inch clearance around air vents.
Kiachahiye Pro Tip: Inverter technology refrigerators rely heavily on stable airflow. Cleaning your coils can drop compressor operating temperatures by up to 15°C, significantly reducing your monthly power consumption.
1.2 Frost and Ice Building Up in Freezer Compartment
Primary Symptoms: Heavy white frost covers freezer walls, drawers become stuck, and fans make a clicking noise as blades strike ice.
Root Causes:
- Faulty auto-defrost timer or defrost heating element.
- Defrost drain tube clogged with ice or food particulates.
- Leaving the freezer door slightly ajar for extended periods.
Step-by-Step DIY Solution:
- Manual Defrost & Drain Line Flush: Safely store perishable items in a cooler. Unplug the unit for 12 to 24 hours to let all internal frost melt completely. Locate the defrost drain hole (usually behind the freezer back panel). Pour warm water mixed with a tablespoon of baking soda down the drain until you hear water dripping smoothly into the drain pan below the fridge.
- Test Defrost Thermostat: Use a multimeter set to continuity mode to check the defrost bi-metal thermostat. If it shows an open circuit while frozen, it requires a cheap replacement.
1.3 Refrigerator Making Loud Buzzing or Rattling Noises
Noise Character | Probable Source | Recommended Solution | Difficulty |
High-pitched squealing / clicking | Evaporator Fan Motor in freezer | Lubricate motor shaft or replace evaporator fan. | Medium |
Vibrating or low humming | Leveling legs unadjusted / Drain pan loose | Adjust front legs using a wrench so fridge tilts slightly backward. | Easy |
Loud metallic knock when stopping | Compressor internal spring failure | Requires professional compressor replacement. | Hard |
2: Washing Machine & Dryer Solutions
Washing machines deal with extreme mechanical stress, water pressure, and chemical detergents. Proper maintenance stops leaks and prevents costly drum damage.
2.1 Washing Machine Won’t Drain or Spin
Primary Symptoms: The cycle halts before spinning; clothes remain soaking wet, and water stands in the tub.
Root Causes:
- Clogged Drain Pump Filter (coin trap blocked by coins, lint, hair, or small socks).
- Kinked, twisted, or squashed drain hose behind the machine.
- Unbalanced load sensor triggered, preventing high-speed spin cycle.
Step-by-Step DIY Solution:
- Drain Water Manually & Clean Filter: Place a shallow tray and towels at the bottom front panel. Open the drain pump access door, unscrew the emergency drain tube to release trapped water, then unscrew the filter plug counterclockwise. Remove debris, coins, and lint buildup under warm water.
- Inspect Drain Hose: Pull the machine forward and ensure the corrugated drain pipe has smooth curves without restrictions or sharp bends.
- Rebalance Laundry: If washing single heavy items like blankets or heavy jeans, balance the load by adding a few towels to equalize weight distribution across the drum.
Safety Alert: Always disconnect the power cable before inspecting the drain pump area or touching internal motor components!
2.2 Washing Machine Vibrating Excessively or “Walking”
Primary Symptoms: Machine makes violent banging sounds during spin cycle and shifts position across the floor.
Root Causes:
- Unremoved shipping bolts on newly installed machines.
- Uneven leveling feet on tile or concrete floors.
- Worn shock absorbers or tub suspension springs.
Step-by-Step DIY Solution:
- Remove Shipping Bolts: If the machine is new, inspect the rear cabinet. Shipping bolts installed at the factory to lock the drum during transport MUST be removed before first use.
- Adjust Leveling Legs: Place a spirit level on top of the machine. Rotate the threaded rubber feet until the unit is 100% horizontal front-to-back and side-to-side. Tighten locknuts against the frame.
2.3 Bad Smell / Mold Inside Front-Load Washing Machine
Front-load washers trap moisture in the thick rubber door gasket (bellow), creating an ideal environment for black mold and mildew, leading to foul-smelling laundry.
Prevention & Cleaning Protocol:
- Mix 50/50 white vinegar and warm water. Wipe inside all folds of the rubber door seal thoroughly.
- Run a hot tub-clean cycle using 1 cup of baking soda inside the drum and 2 cups of white vinegar in the detergent drawer.
- Rule of Thumb: Always leave the washing machine door cracked open 1-2 inches after every wash cycle to allow internal moisture to evaporate completely.
3: Air Conditioner (AC) & Climate Control
Whether using split air conditioners or inverter AC systems, proper airflow, refrigerant pressure, and drainage are critical for optimal summer cooling.
3.1 AC Unit Dripping / Leaking Water Indoors
Primary Symptoms: Drops or steady streams of water spill from the bottom of the indoor wall unit onto furniture or flooring.
Root Causes:
- Clogged condensate drain hose due to algae or dust buildup.
- Improper unit installation angle (slanted wrong way away from drain outlet).
- Frozen evaporator coils melting rapidly when unit switches off.
Step-by-Step DIY Solution:
- Clear Drain Hose: Turn off the circuit breaker. Remove the front casing and locate the condensate pan below the evaporator coils. Attach a wet/dry shop vacuum to the outdoor end of the drain pipe to suck out accumulated algae, sludge, and dirt blockages.
- Flush with Vinegar: Pour 1 cup of distilled white vinegar down the indoor drain tray to kill lingering bacteria and fungal growth.
3.2 Air Conditioner Blowing Warm Air
Possible Cause | Verification Method | Corrective Action |
Extremely Dirty Air Filters | Inspect filters behind front panel. If choked with dust, air cannot pass. | Wash mesh filters in lukewarm water every 2 weeks. Dry thoroughly before reinserting. |
Thermostat Settings Incorrect | Check mode on remote control. Ensure mode is set to “COOL” not “FAN” or “DRY”. | Set temperature to at least 3-4 degrees lower than current ambient room temp. |
Refrigerant (Gas) Leak | Ice forming on thin copper pipes of outdoor unit; constant running without cooling. | Requires certified HVAC technician to locate leak, repair joint, and recharge refrigerant. |
Kiachahiye Energy Saving Tip: Running your inverter AC with dirty mesh filters increases energy consumption by up to 20%. Regular filter cleaning ensures maximum cooling with minimal electricity costs!
4: Microwave Ovens & Small Kitchen Appliances
Kitchen electronics perform heavy daily workloads. Most issues stem from minor safety interlock misalignments or debris build-up.
4.1 Microwave Runs, Light On, But Food Doesn’t Heat
Primary Symptoms: The glass plate turns, fan hums, timer counts down, but food remains ice-cold.
Root Causes:
- Blown high-voltage diode or main internal fuse.
- Failed magnetron (the component that generates micro-frequency heating waves).
- Faulty door interlock switch failing to signal closure.
Step-by-Step DIY Diagnostic:
- Check Door Latches: Close the microwave door firmly. If the door hook switches do not engage completely, safety interlocks prevent high-voltage power to the magnetron. Ensure no food particles or greasy residue clog the latch holes.
- Fuse & Diode Check: If comfortable with electrical testing (and after discharging high-voltage capacitor), check internal ceramic fuses using a multimeter. If blown, replace with exact amperage-rated fuse.
High Voltage Warning: Microwave ovens contain high-voltage capacitors that store lethal electrical charges even when unplugged! Unless you are trained in electrical safety, leave internal transformer/magnetron repairs to professionals.
4.2 Microwave Sparks Inside During Operation (Arcing)
Primary Symptoms: Bright sparks, crackling noise, and burned odor as soon as start button is pressed.
Root Causes:
- Accidental inclusion of metal objects, aluminum foil, or gold-rimmed glassware.
- Splattered grease and food particles baked onto internal walls.
- Damaged or greasy Waveguide Cover (the small mica sheet on side wall).
Step-by-Step DIY Solution:
- Clean all inner surfaces thoroughly using warm water, dish soap, and baking soda.
- Inspect the mica waveguide cover on the internal right wall. If burnt or coated with carbon, replace it immediately (inexpensive replacement sheets cut easily with scissors).
5: Dishwashers & Electric Water Heaters
5.1 Dishwasher Leaving Film / Dirty Spots on Glassware
Hard water minerals, clogged spray arm holes, and improper detergent usage are primary culprits behind poor dishwasher performance.
- Unclog Spray Arm Nozzles: Remove top and bottom spray arms. Use a toothpick or safety pin to clear mineral buildup and food debris from nozzle holes.
- Refill Rinse Aid: Rinse aid reduces surface tension of water, allowing water drops to slide off surfaces instead of drying into mineral spots.
- Run Vinegar Rinse Cycle: Place a bowl filled with 2 cups white vinegar on top rack and run a hot cycle to dissolve internal limescale.
5.2 Electric Water Heater (Geyser) Not Producing Hot Water
Symptom | Primary Cause | Action Required |
Water is completely cold | Tripped High-Limit Safety Switch / Blown heating element | Press red reset button under thermostat access panel. Test element resistance with multimeter. |
Water warm but runs out quickly | Limescale buildup covering heating element or broken dip tube | Flush tank sediment annually; replace copper heating element if encrusted with calcium. |
Smelly / Rusty hot water | Corroded Anode Rod inside tank | Unscrew sacrificial magnesium anode rod and replace to prevent tank corrosion. |
6: Preventive Maintenance Master Matrix
Adhering to a scheduled routine preventive maintenance plan extends the lifespan of major home appliances by up to 50% while preventing emergency breakdowns.
Appliance | Maintenance Task | Frequency | Estimated DIY Time |
Refrigerator | Clean condenser coils & check door seal gap | Every 6 Months | 15 Minutes |
Washing Machine | Clean drain pump filter & run hot vinegar drum cycle | Monthly | 10 Minutes |
Air Conditioner | Wash mesh filters & clear condensate line | Every 2 Weeks (Summer) | 15 Minutes |
Microwave | Wipe internal chamber & inspect waveguide cover | Weekly | 5 Minutes |
Dishwasher | Clean lower filter & spray arm nozzles | Monthly | 10 Minutes |
Water Heater | Flush sediment buildup from bottom valve | Annually | 30 Minutes |
7: Repair vs. Replace Guide (The 50% Rule)
When facing a significant home appliance repair bill, deciding whether to fix the existing unit or invest in a brand new model can be challenging. At Kiachahiye.com, we recommend applying the industry-standard 50% Rule.
The 50% Rule for Appliance Repair:
If the cost of repair exceeds 50% of the cost of a new replacement unit, AND the appliance has already completed more than 50% of its expected lifespan, replacement is almost always the smarter financial decision.
Expected Average Lifespans of Household Appliances:
- Refrigerators: 10 – 13 Years
- Washing Machines (Front/Top Load): 8 – 11 Years
- Split Air Conditioners: 10 – 12 Years
- Microwave Ovens: 7 – 9 Years
- Electric Water Heaters: 8 – 10 Years
- Dishwashers: 8 – 10 Years
Conclusion & Key Takeaways
By keeping up with simple DIY diagnostics, cleaning routines, and basic care, you can fix many common home appliance problems without spending money on unnecessary service calls. Regular maintenance not only saves thousands on early replacements, but also keeps your appliances running at peak energy efficiency, reducing monthly utility bills.
Frequently Asked Questions (FAQs)
Q1: Which home appliance consumes the most electricity, and how can I reduce its power consumption? +
Answer: Refrigerators and Air Conditioners typically consume the most energy because they run continuously or draw high power during peak usage. You can reduce power consumption by regularly cleaning condenser coils on your fridge and washing AC mesh filters every two weeks to keep airflow smooth.
Q2: How often should I perform routine maintenance on my major home appliances? +
Answer: Basic cleaning like wiping down microwave interiors should be done weekly. Drain pump filters for washers and AC mesh filters should be checked monthly or every two weeks. Major tasks, such as cleaning refrigerator condenser coils, should be done every six months.
Q3: What is the 50% Rule when deciding to repair or replace an appliance? +
Answer: The 50% Rule states that if the repair cost is more than 50% of the price of a brand-new unit, AND the appliance has already completed over 50% of its expected lifespan, replacing it is usually the more cost-effective choice.
Q4: Why does my front-load washing machine smell bad, and how can I prevent it? +
Answer: Front-load washers trap moisture in the rubber door seal, creating ideal conditions for mold and mildew. Wipe down the seal regularly, run a monthly tub-clean cycle with baking soda and vinegar, and always leave the door slightly open between washes.
Q5: Is it safe to repair a microwave oven at home by myself? +
Answer: Cleaning surfaces, unclogging door latches, or replacing the external mica waveguide cover is completely safe. However, inner component repairs (like magnetrons or capacitors) carry high-voltage risks even when unplugged and should be handled by a qualified technician.