






Why Your Refrigerator Isn’t Cooling Common Reasons & Solutions

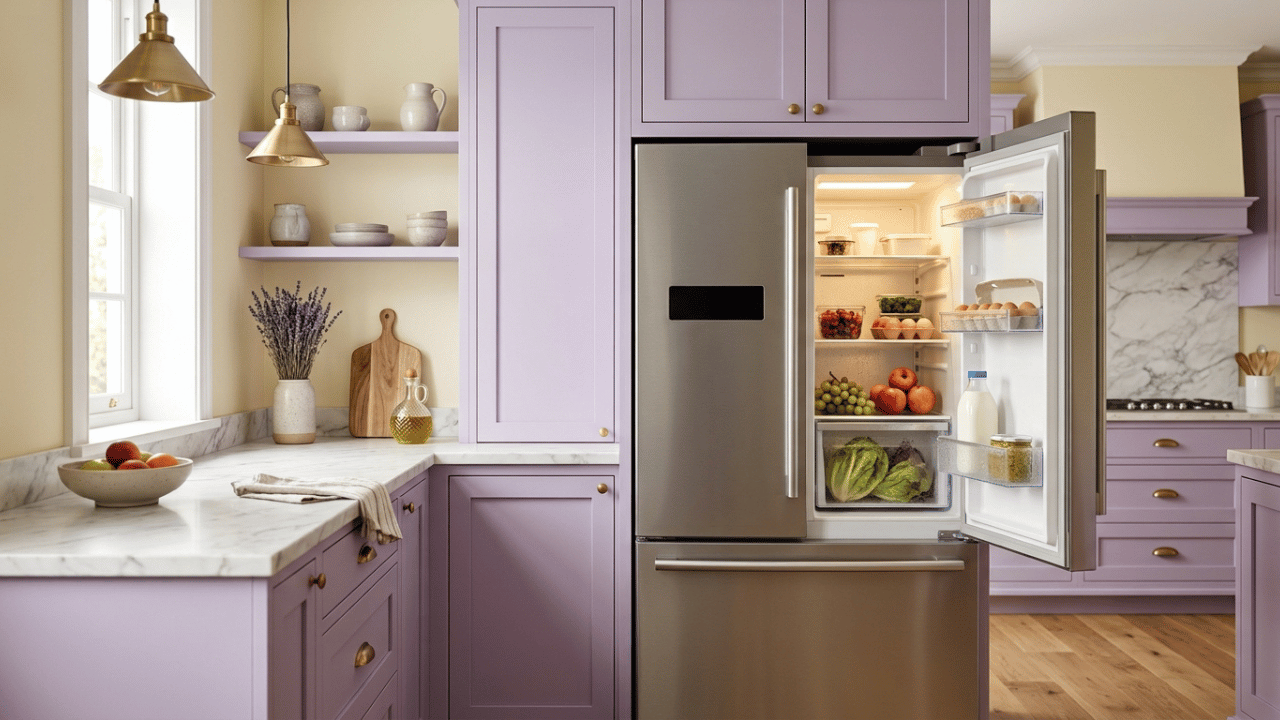
Imagine waking up in the morning, opening your refrigerator to grab some cold milk for your coffee, and realizing everything inside is warm. The milk smells sour, the butter is melting, and your ice cream in the freezer looks like a puddle of soup.
A refrigerator that is not cooling is one of the most frustrating home appliance problems you can face. It disrupts your daily life and can quickly lead to hundreds of dollars worth of wasted food.
But before you panic and call an expensive technician or start shopping for a brand-new appliance, take a deep breath. In many cases, a refrigerator stops cooling due to simple, easily fixable reasons that you can handle yourself.
1. Quick Check: Simple Mistakes You Can Fix in 5 Minutes
Before diving into the mechanical parts of your fridge, let’s rule out the basic errors. Sometimes, the solution requires zero tools and just a few seconds of your time.
The Power Cord Is Loose or Unplugged
It sounds obvious, but it happens more often than you think. Cleaning behind the fridge, kids playing, or even a curious pet can nudge the heavy appliance just enough to pull the power plug slightly out of the wall socket.
- The Solution: Pull the refrigerator out slightly and make sure the plug is securely pushed all the way into the outlet. Also, look at the wall outlet itself to ensure it hasn’t sustained physical damage.
The Thermostat Dial Was Bumped
When loading large grocery bags or rearranging food containers on the top shelf, it is incredibly easy to accidentally bump the temperature control dial. You might have accidentally turned it down or even shut it off entirely without noticing.
- The Solution: Locate your refrigerator’s internal control panel (usually found at the top or back of the fresh food compartment). Check the numbers. For optimal safety, your refrigerator should be set between 35°F and 38°F (1.6°C to 3.3°C), while your freezer should sit at 0°F (-18°C).
The Circuit Breaker Tripped
If the interior light of your refrigerator does not turn on when you open the door, and you hear absolutely no operational humming sound, the issue might lie in your home’s main electrical panel rather than the appliance itself.
- The Solution: Go to your home’s main electrical breaker box. Look for the switch labeled “Kitchen” or “Refrigerator.” If the switch has flipped to the “Off” position or is sitting halfway in between, flip it completely to the off position first, and then push it firmly back to “On.”
2. Advanced Troubleshooting: Common Reasons Your Refrigerator Stays Warm
If the power is running fine and the thermostat settings are correct, it’s time to look a little deeper. Let’s explore the structural and mechanical components that control the cooling process inside your unit.
Dirty Condenser Coils
Condenser coils are the black, snake-like grid of tubes usually located at the very bottom or along the back exterior wall of your refrigerator. Their primary job is to dissipate the intense heat removed from the inside of your fridge out into the room. Over months and years, these coils act like a magnet for thick blankets of household dust, pet hair, and lint.
When coils become insulated under a layer of dirt, they cannot release heat efficiently. This forces your compressor (the fridge’s engine) to work twice as hard and run continuously, leading to poor cooling performance and massively spiked electricity bills.
- How to Inspect: Unplug the appliance and remove the bottom front toe grille or pull the fridge away from the wall to locate the coils. If you can’t see the metal metal structure clearly because of gray dust, they need immediate cleaning.
- The DIY Fix: Use a specialized flexible coil brush or your standard vacuum cleaner with a narrow crevice attachment to gently clean away the debris. Do this once every six months to keep your fridge running efficiently.
Damaged or Loose Door Gaskets (Rubber Seals)
The rubber strip lining the inside perimeter of your refrigerator and freezer doors is called a gasket. This piece creates an airtight seal that locks cold air inside while preventing warm, humid room air from seeping in.
If the gasket becomes cracked, warped, torn, or coated in sticky food spills, the seal breaks. Warm air will constantly leak inside, causing your refrigerator to sweat, create excessive frost, and struggle to lower the interior temperature.
- The Test (The Dollar Bill Trick): Close your refrigerator door on a crisp, flat dollar bill, leaving half of the bill sticking out. Try to pull the bill out gently. If it slides out easily with zero resistance, your rubber seal is too loose and is actively leaking air. Repeat this test at multiple points along both doors.
- The DIY Fix: Clean sticky seals with warm soapy water and a soft microfiber cloth. If the gasket is visibly warped or cracked, you can order a cheap replacement model online matching your fridge’s model number and easily snap or screw it into place yourself.
Blocked Air Vents Inside the Compartments
Cold air does not originate inside the fresh food section of your refrigerator. Instead, almost all cold air is generated directly inside the freezer compartment and then pushed down into the lower fresh food section through small internal pathways called vents.
If you stack large bulk items, tall milk jugs, or big leftovers directly in front of these small vents, you completely block the flow of cold air. Your freezer will stay freezing cold, but your main refrigerator section will rapidly warm up.
- How to Inspect: Open both your freezer and fresh food doors. Look for small plastic grates along the back walls or floor/ceiling dividers.
- The DIY Fix: Rearrange your groceries. Keep a clear 2-to-3-inch gap around all internal vents to ensure internal air can circulate smoothly throughout the entire appliance.
3. Structural & Mechanical Failure: When Parts Stop Working
If you checked the vents, cleaned the coils, and verified the door seals, the problem likely stems from a failing mechanical component. Let’s look at the parts responsible for moving air and regulating temperatures.
A Faulty Evaporator Fan Motor
The evaporator fan is located directly inside the back wall of your freezer compartment. Its critical role is to draw air across the ice-cold evaporator coils and blow that chilled air throughout the refrigerator cavities.
If this fan motor fails, the cold air stays trapped inside the freezer walls, preventing the rest of your refrigerator from cooling.
- How to Inspect: Listen closely to your refrigerator while it is plugged in and running. Do you hear a harsh chirping, squealing, or groaning sound coming from the freezer section? Alternatively, if the fridge is silent but you hear the low hum of the compressor at the bottom, the fan motor might be seized.
- The Fix: Accessing this requires removing the back panel inside your freezer. If the fan blades are blocked by thick ice buildup, a manual defrost will fix it. If the blades spin freely by hand but the motor refuses to run when powered, the motor assembly needs to be replaced.
A Broken Defrost System (Frost Buildup)
Modern refrigerators feature an automatic defrost cycle that runs every few hours. This system turns on a small internal heating element to melt away any frost that accumulates on the internal cooling coils before it can turn into solid ice blocks.
If a component in this loop fails (such as the defrost timer, defrost thermostat, or the heater itself), frost will continuously build up until it turns into a massive sheet of ice over the cooling coils. This ice completely blocks all airflow, rendering the refrigerator unable to cool.
- How to Inspect: Look at the back wall of your freezer. Do you see thick frost or solid sheets of ice pushing through the plastic panel vents? If yes, your system is failing to automatically defrost itself.
- The Temporary Fix: Unplug your refrigerator, transfer your food to portable coolers filled with ice, and leave the refrigerator doors open for a full 24 to 48 hours to let the internal ice melt away completely. This will restore cooling temporarily, but you will ultimately need to test and replace the broken defrost component to prevent the ice from returning.
4. Summary Table: Quick Reference Guide
To save you time, here is a scannable summary table outlining the most common causes, their distinct symptoms, and the difficulty level required to implement the fix:
Cause of the Problem | Key Visible Symptom | Difficulty Level | Recommended Action |
Loose Power Plug | Interior lights are off; fridge is completely silent. | Very Easy | Push plug securely into wall socket. |
Bumped Thermostat | Fridge is warm but running smoothly; settings are altered. | Very Easy | Reset dial to 37°F for fridge / 0°F for freezer. |
Dirty Condenser Coils | Fridge runs continuously; sides of the exterior cabinet feel very hot. | Easy | Vacuum dust off the coils at the bottom or rear. |
Worn Door Gasket | Moisture/condensation inside; door pops open easily. | Easy | Clean with soap or replace the rubber strip entirely. |
Blocked Internal Vents | Freezer is freezing ice perfectly, but the fridge section is warm. | Very Easy | Move large items away from internal air grates. |
Evaporator Fan Failure | Strange squealing or groaning noises coming from the freezer. | Medium | Defrost ice blockage or replace the fan motor. |
Defrost System Failure | Heavy ice forming over the interior back wall of the freezer. | Medium to Hard | Manually defrost for 24 hours; replace defrost timer/heater. |
When to Call a Professional Technician
If you have executed all the DIY troubleshooting steps mentioned above—your coils are clean, air vents are open, the seals are tight, and you have fully defrosted the machine—yet it still refuses to drop in temperature, you are likely dealing with a complex issue.
You should call a certified appliance repair professional if:
- You suspect your refrigerator has a refrigerant gas leak (the unit runs continuously but produces zero cold air anywhere).
- The compressor is excessively hot to the touch, making clicking sounds, or won’t turn on at all.
- The main electronic control board is fried or showing erratic digital error codes that do not clear after a hard power reset.
Frequently Asked Questions (FAQs)
Q1. How long does a refrigerator take to cool down after being plugged in? +
After plugging a refrigerator in for the first time or after a manual defrost, it typically takes between 12 to 24 hours to reach its fully stabilized, food-safe temperature. Avoid loading it with warm groceries during the first few hours to speed up the process.
Q2. Why is my freezer ice cold but my refrigerator is warm? +
This is almost always caused by a airflow issue. The cold air from your freezer cannot travel down into your fresh food compartment. Check for groceries blocking the internal air vents, or look for a failing evaporator fan or an ice-clogged defrost system.
Q3. Can a refrigerator stop cooling if it is too full? +
Yes. Stuffing your refrigerator completely full blocks the internal paths required for proper air circulation. Pack items efficiently, leave clear spaces between containers, and make sure nothing presses directly against the back or side walls.
Q4. Can a refrigerator stop cooling if it is too empty? +
Surprisingly, yes. Your food and liquids act like cold-retaining bricks. Once chilled, they help maintain the overall temperature when the door opens. If your fridge is completely empty, all the cold air falls out the moment you open the door, making the compressor work much harder. Keep it comfortably full, or place a few jugs of water inside to help stabilize temperatures.
Q5. Why are the sides of my refrigerator warm or hot to the touch? +
It is perfectly normal for the outer walls of a modern refrigerator to feel warm. They contain internal heat dissipation lines. However, if the sides feel aggressively hot, it means your condenser coils are coated in thick dust, forcing the compressor to work under extreme pressure.
Q6. How often should I clean my refrigerator’s condenser coils? +
For typical households, cleaning the coils once every six months is ideal. However, if you live with shedding pets (like long-haired dogs or cats), dust and fur build up much quicker, making a clean every 3 to 4 months a better practice.
Q7. What is the ideal temperature setting for a home refrigerator? +
According to food safety standards, your fresh food refrigerator compartment should always be set between 35°F and 38°F (1.6°C to 3.3°C). Your freezer compartment should always sit at exactly 0°F (-18°C) to prevent bacteria growth.
Q8. How can I tell if my compressor is broken? +
The compressor is the heart of your fridge. If your refrigerator isn't cooling and you hear a persistent, distinct clicking sound every few minutes followed by complete silence, your compressor is struggling to start or is failing. This generally requires a professional technician.
Q9. Is it worth fixing an old refrigerator that stops cooling? +
If your refrigerator is under 8 years old and the fix involves cleaning coils, replacing a fan motor, or changing a door seal, it is absolutely worth repairing. However, if your fridge is over 10 to 12 years old and has a failed compressor or a sealed system refrigerant leak, buying a new energy-efficient model is usually more cost-effective.
Q10. Can a bad wall outlet cause a refrigerator to cool poorly? +
A wall outlet usually works completely or doesn't work at all. However, if the outlet is loose or damaged, it can cause the power to flicker on and off repeatedly. This inconsistent power loop will prevent the refrigerator from completing its normal cooling cycles, causing internal temperatures to rise over time.